
IDEA配置java web
起因
在学习javaEE课程之处,需要安装搭建相关的javaEE环境,过程中遇到许多困难,本文记录一下正确安装并运行的过程。以及项目创建的过程,为java web入门环境安装提供思路。
Tomcat 安装
安装途径: 1. 钉钉群中的免安装版 2. 官网下载 Apache Tomcat® - Welcome!
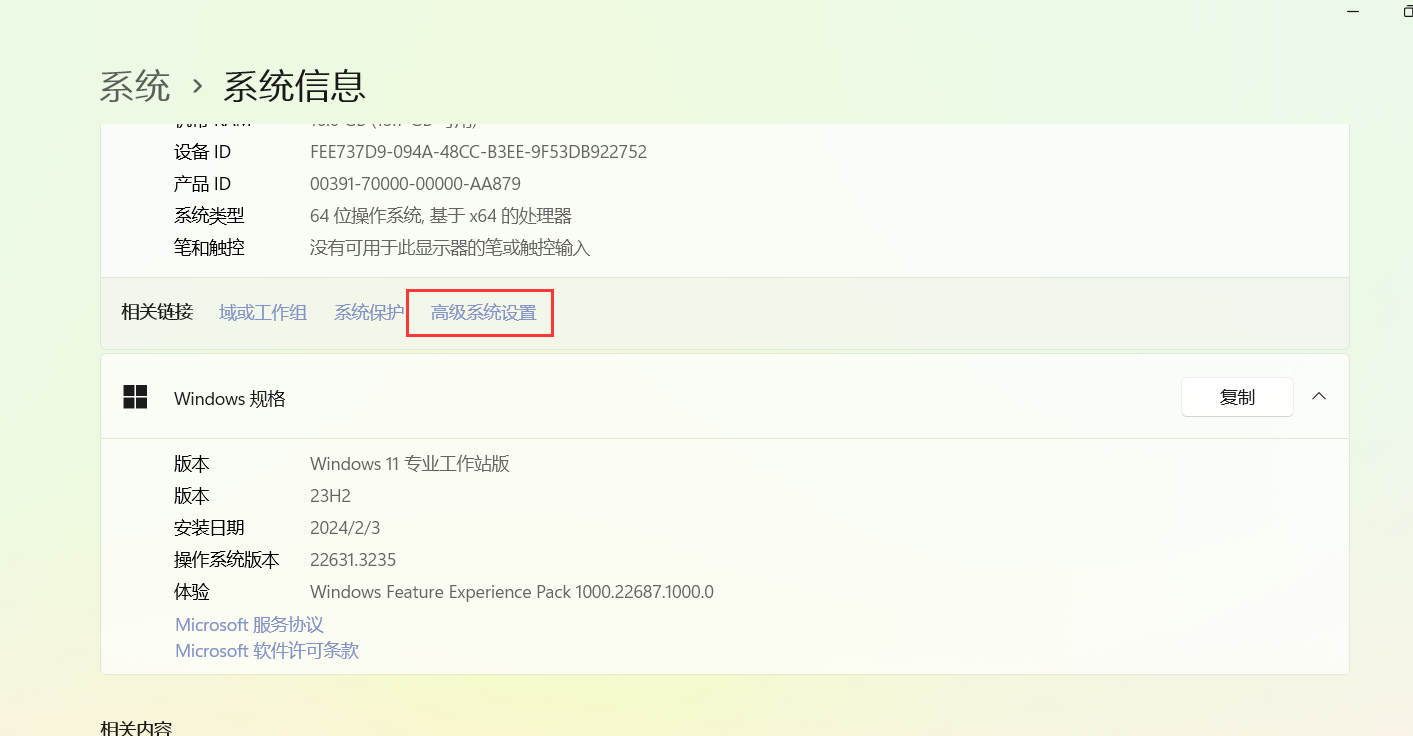
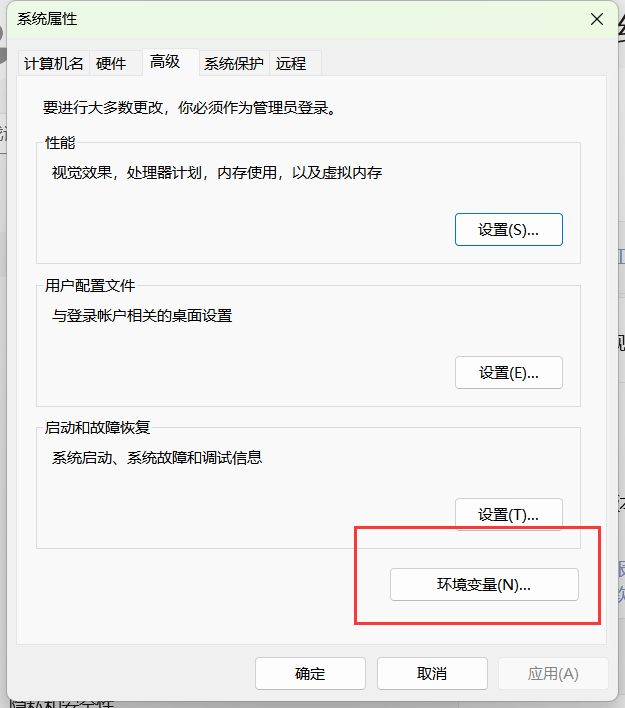
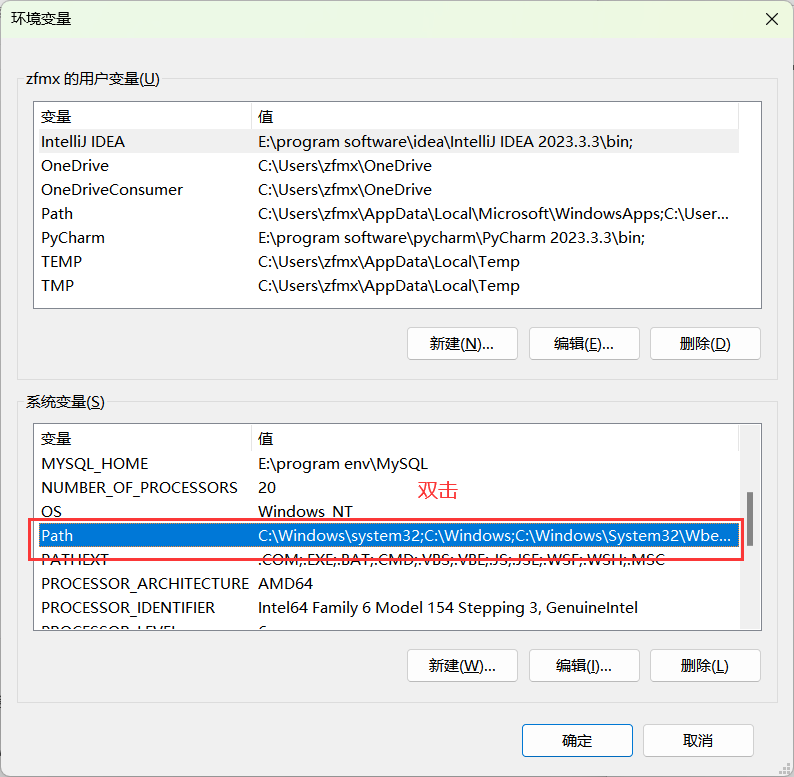
无论是哪种方式下载,都需要检查环境配置,方法:资源管理器中右键 此电脑 —>属性 —> 高级环境配置—> 环境变量
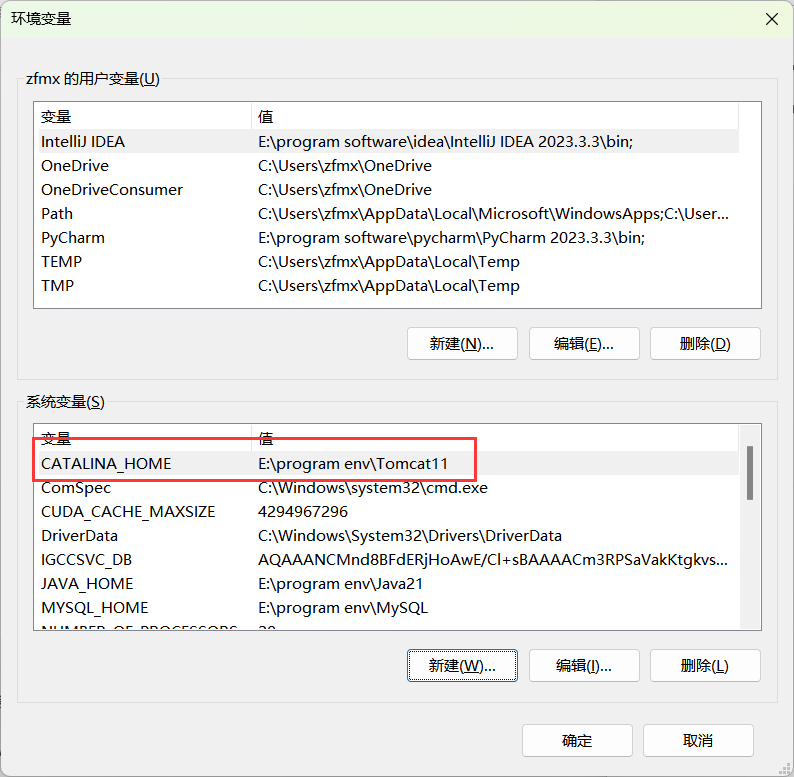
CATALINA_HOME
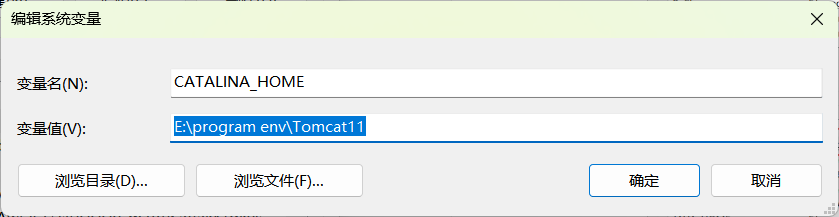
观察系统变量中是否存在CATALINA_HOME,若无请添加:新建->变量名->变量值
==此处的变量值为tomcat的根目录==
添加(此处需要设置自己的目录):
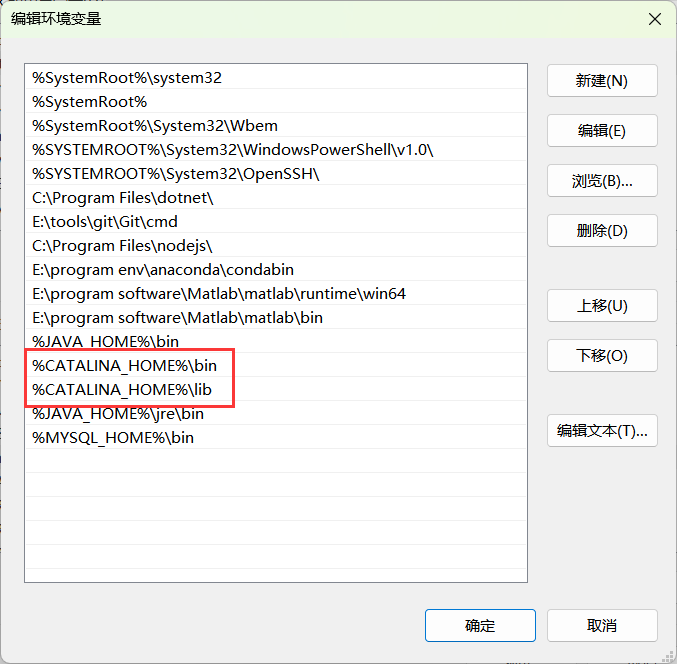
bin&lib
随后进入path目录,观察是否有%CATALINA_HOME%\bin和\lib,无前者一般均无此处的path
若无,请添加,此处的变量和我一致
配置完成
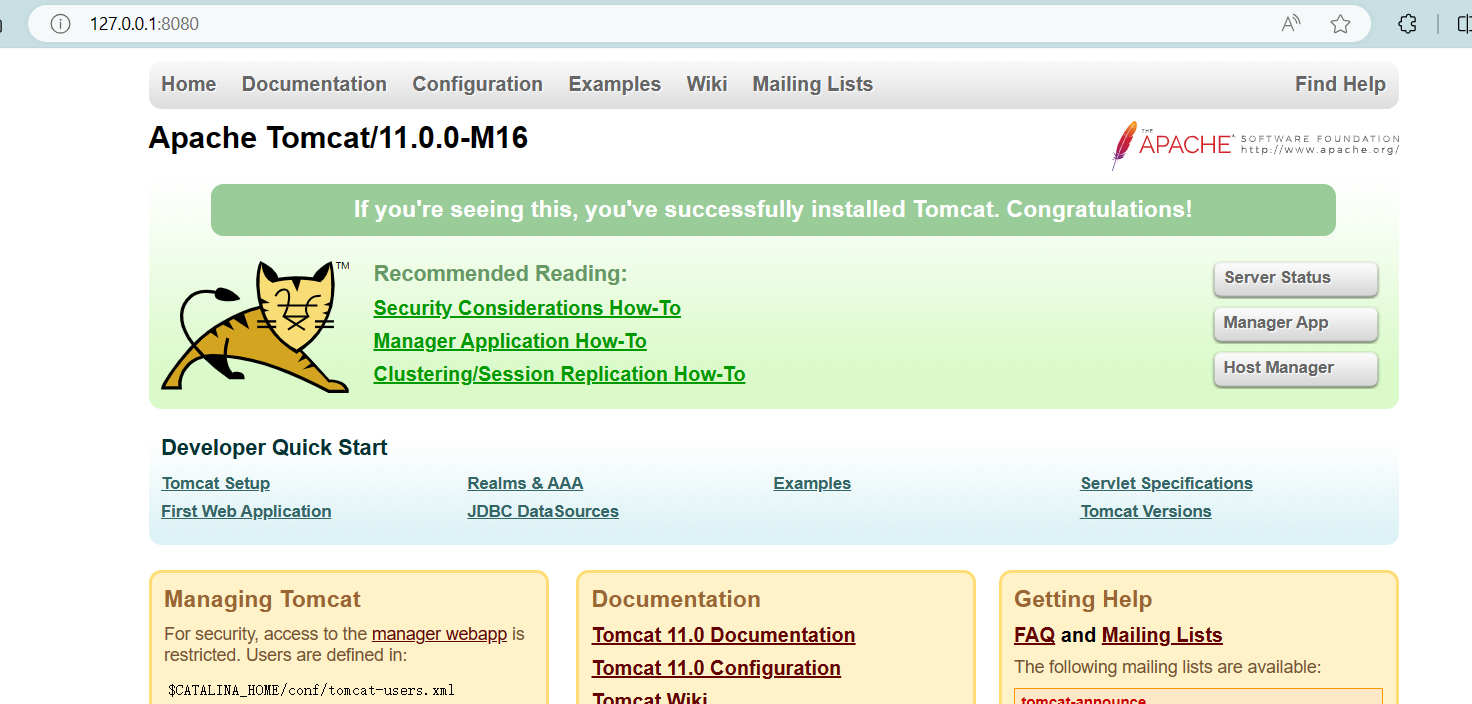
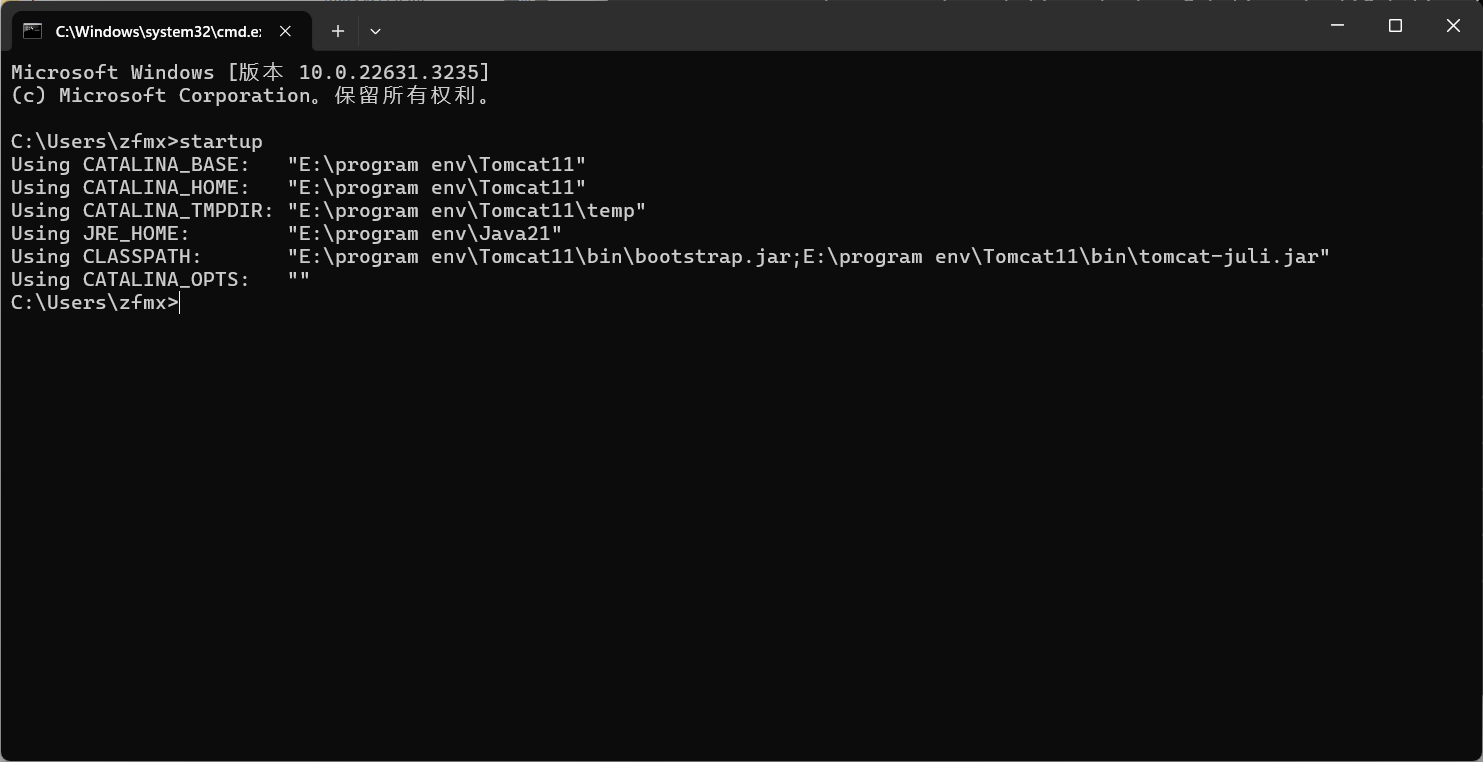
win+r 打开cmd,在终端中输入startup,出现

并开始执行程序说明配置完成了,可以在浏览器中输入localhost:8080 或 127.0.0.1:8080 进行查看(默认8080端口)。
IDEA创建web项目
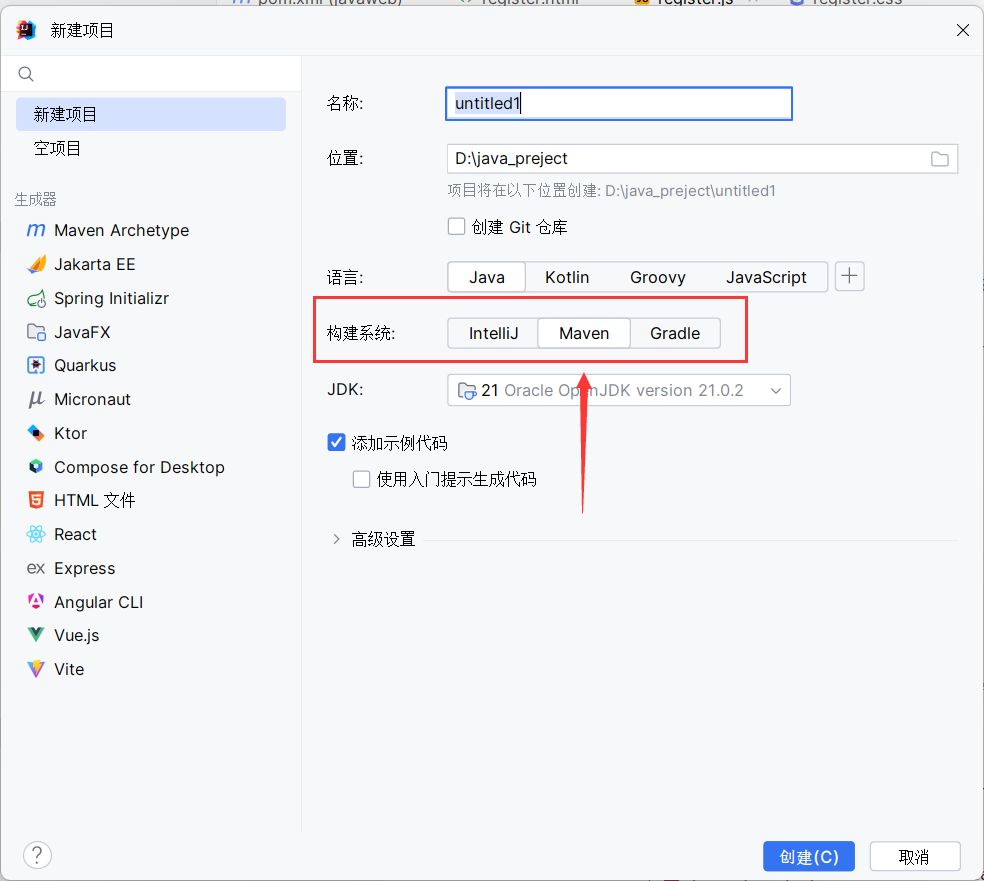
一、新建项目
由于idea自带maven,我们可以在创建的时候直接选择maven项目
二、创建web模块
我们需要创建一个web模块,右键项目,打开模块配置
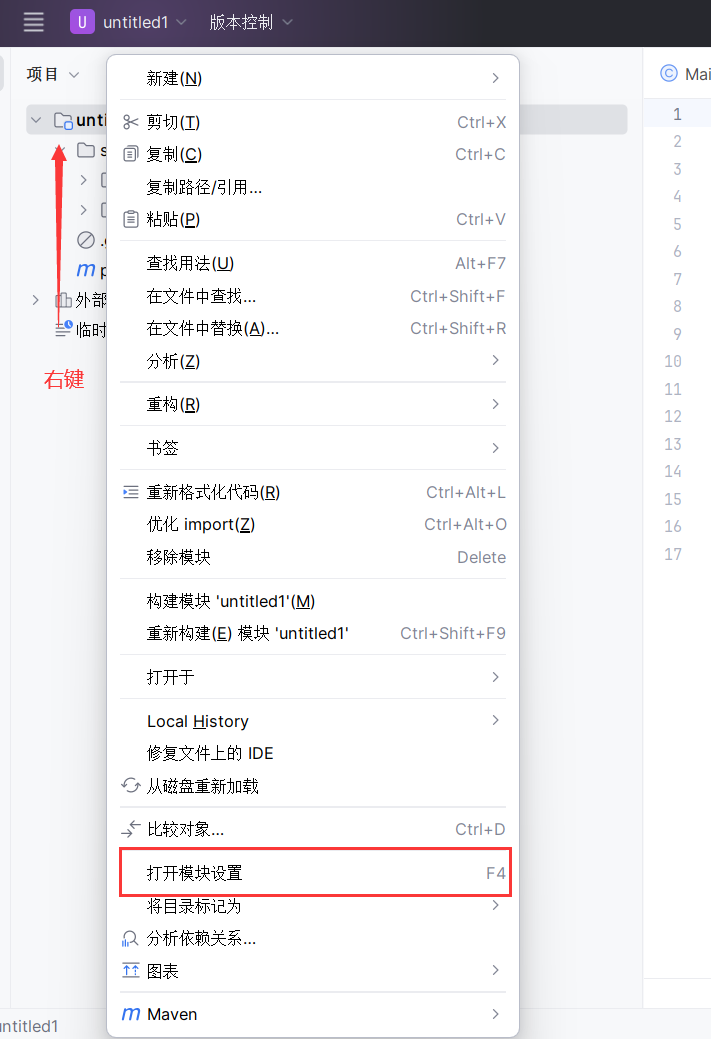
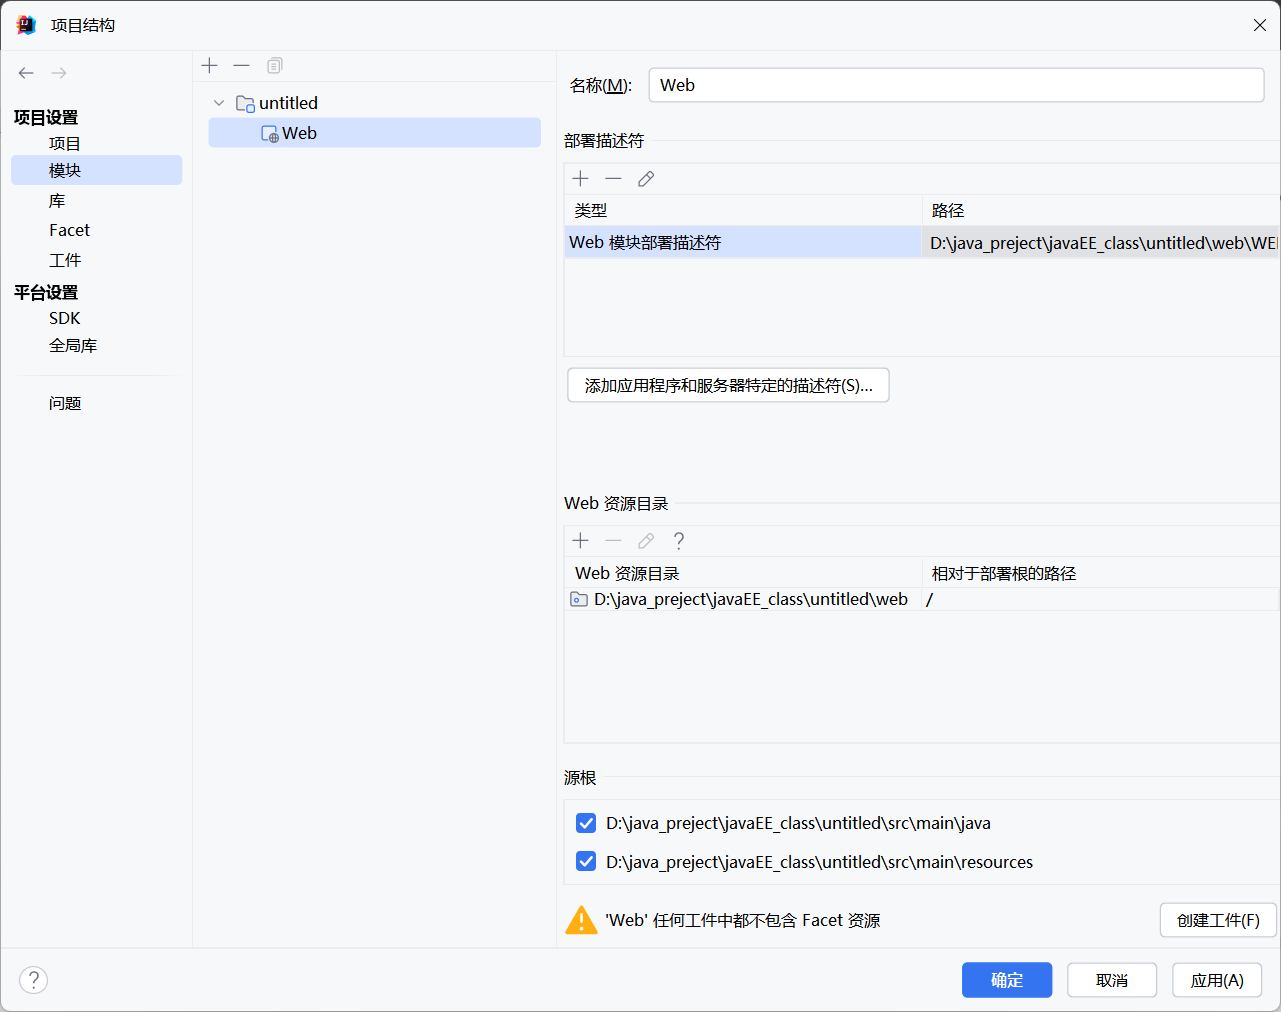
我们需要在新建的项目中添加web模块
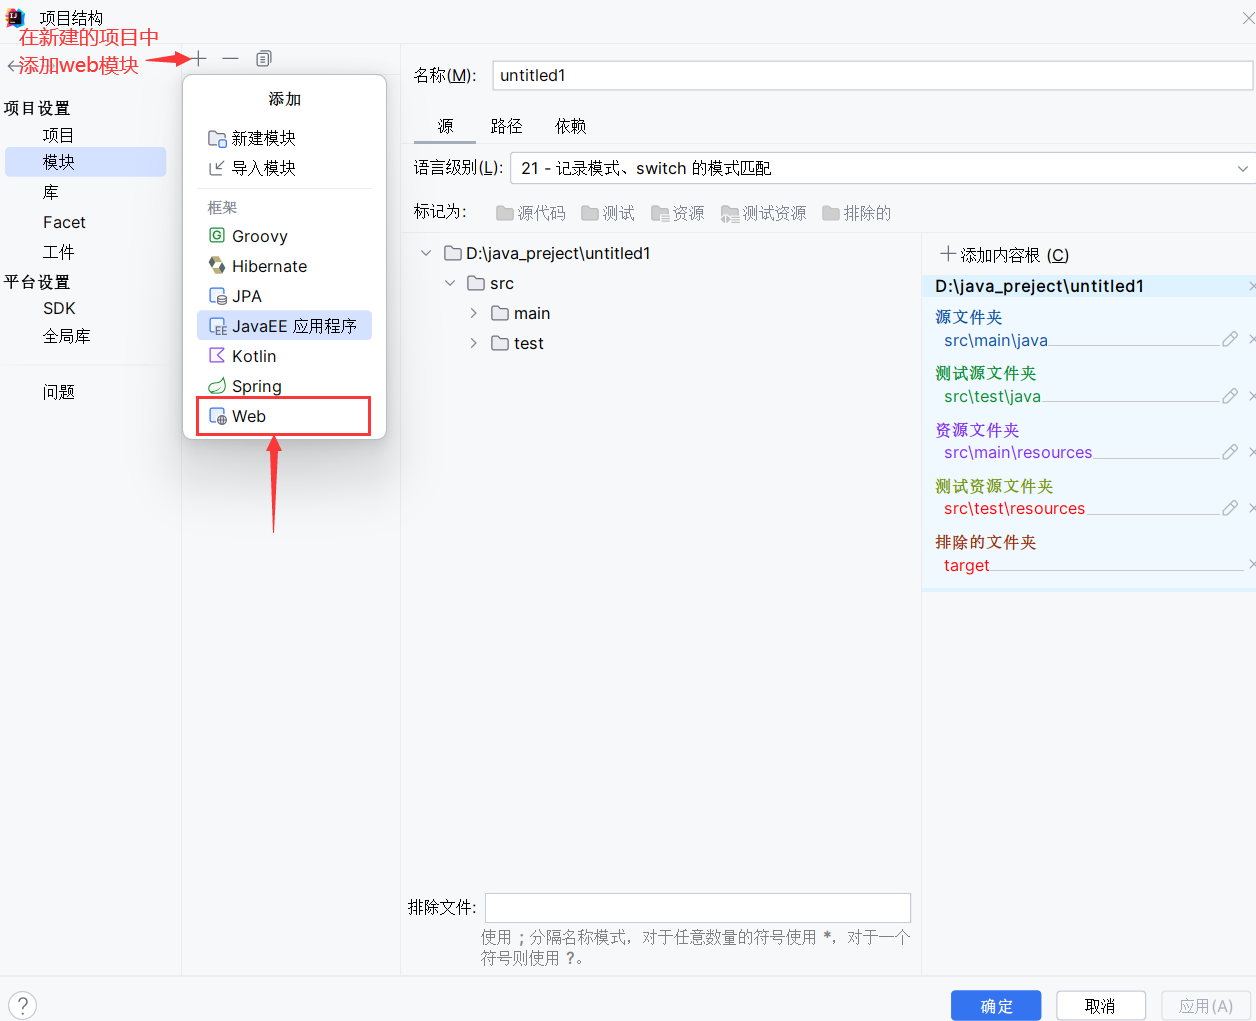
**注意: 为了接下来项目结构不至于混乱,使用默认的路径即可 ** 个人认为直接放置于项目下即可,浏览前端代码也方便,若是前端使用框架开发,如vue则无需新增web模块。
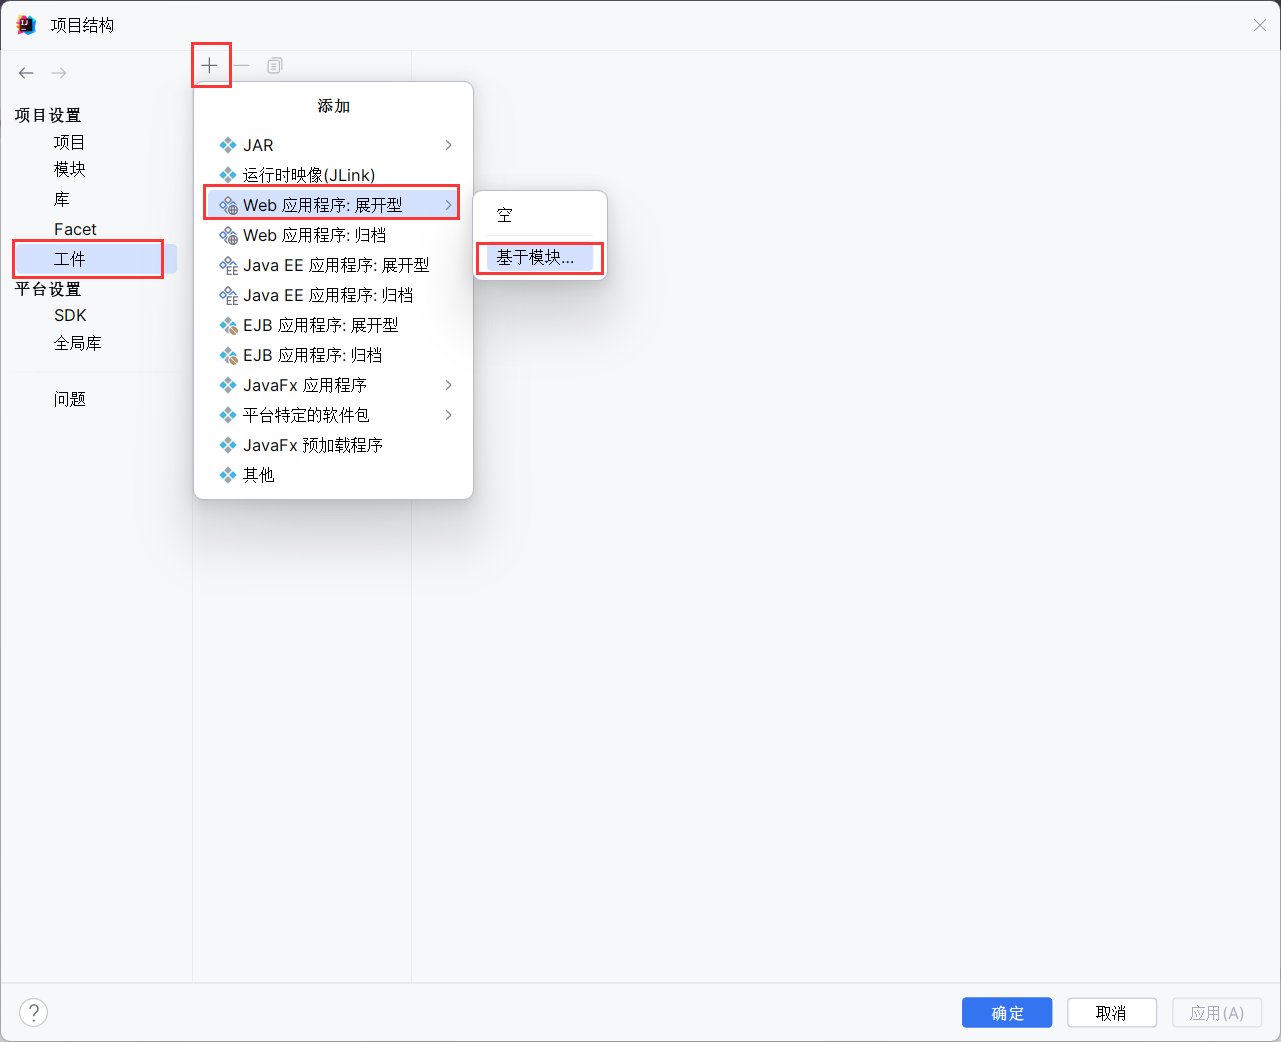
三、创建工件
然后我们需要在工件中,创建一个web应用程序:展开型工件,用于在idea中运行时生成war包
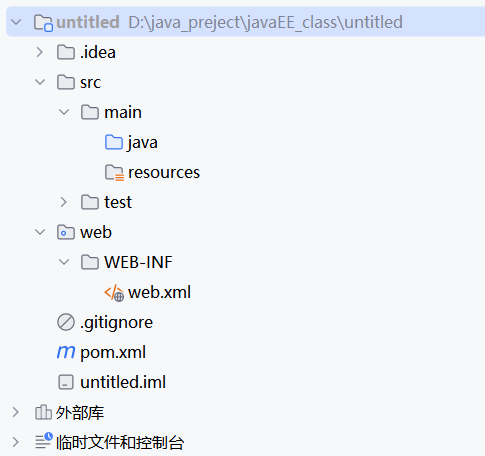
四、观察项目结构
若项目结构实在混乱,可参考我的项目结构
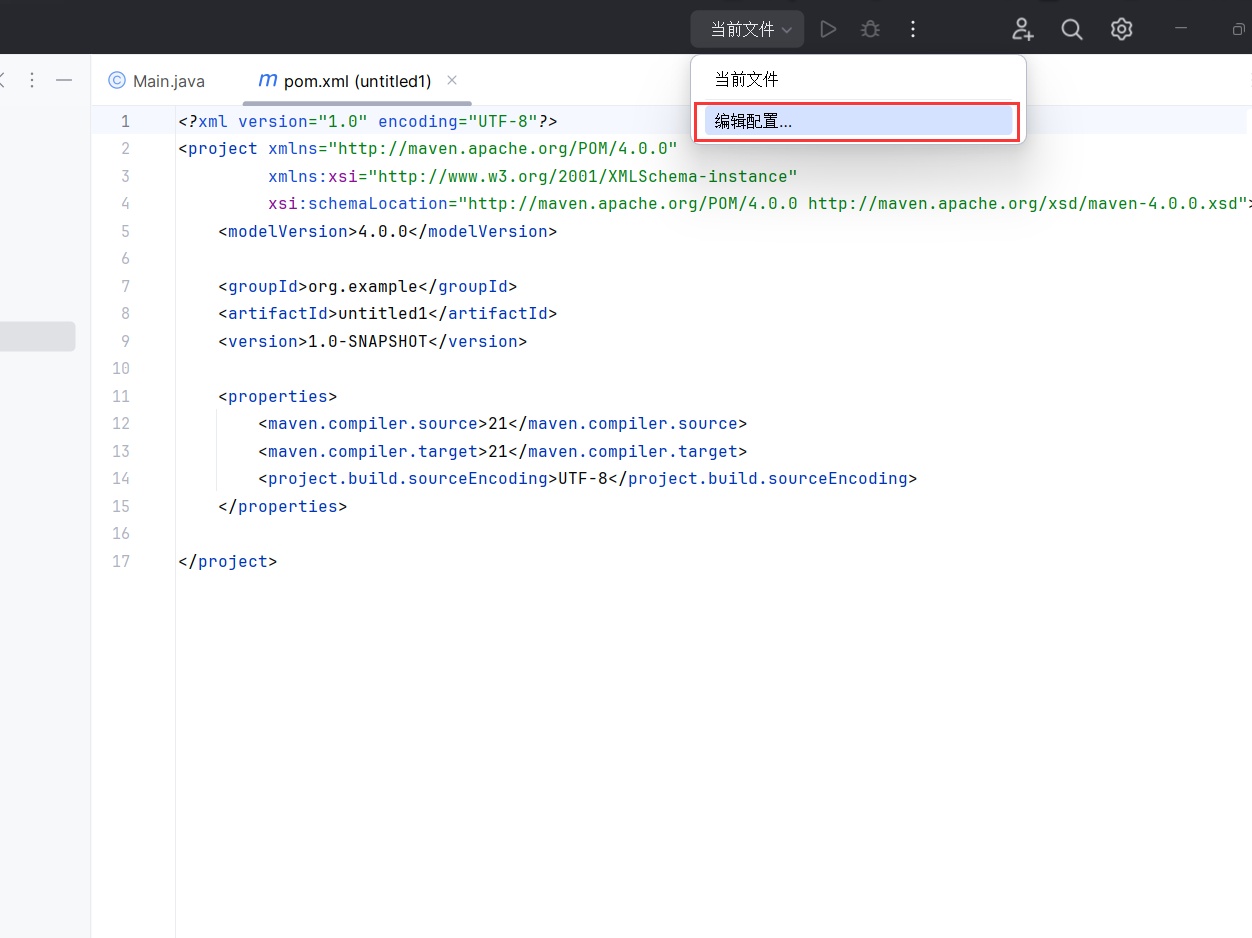
配置编译环境
运行tomcat,我们需要配置tomcat的编译环境

基本上都会自动查询到应用程序服务器,若无,请单机配置idea会根据环境变量查找到tomcat的位置
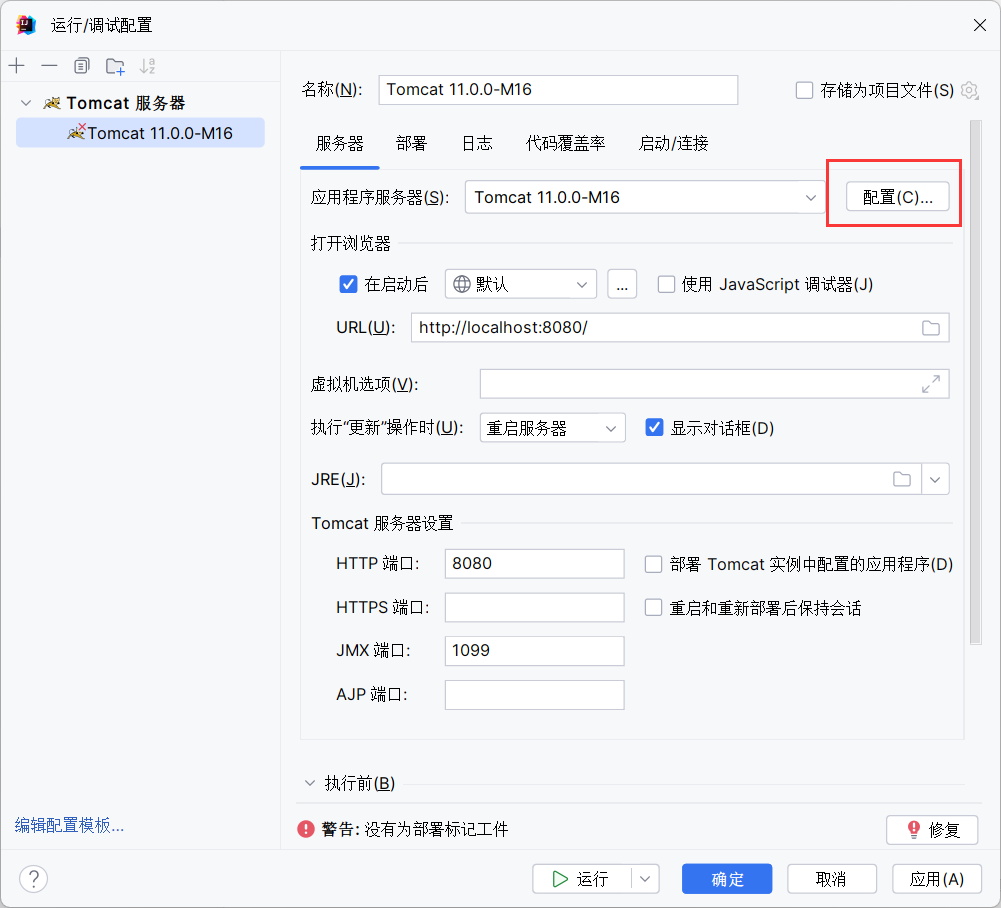
在部署中添加刚刚创建的工件

配置完成
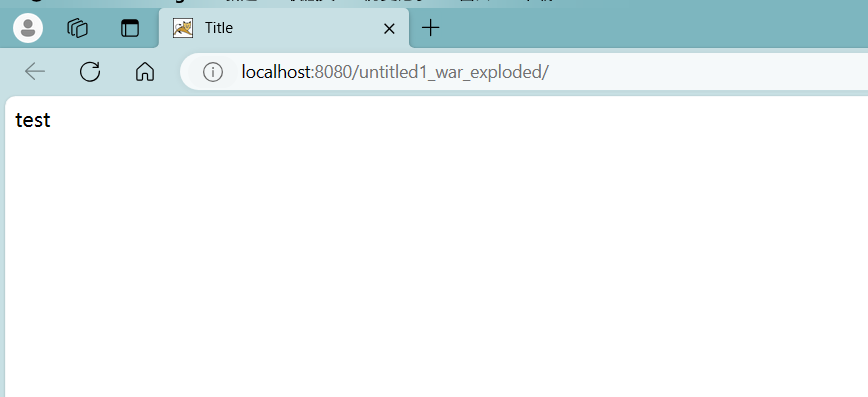
我们在web下创建一个index.html做测试(war包会自动访问到内部的index文件,即首页,这里使用index.html是为了方便观察)
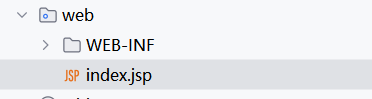
单机运行,会自动弹出页面
MAVEN打包
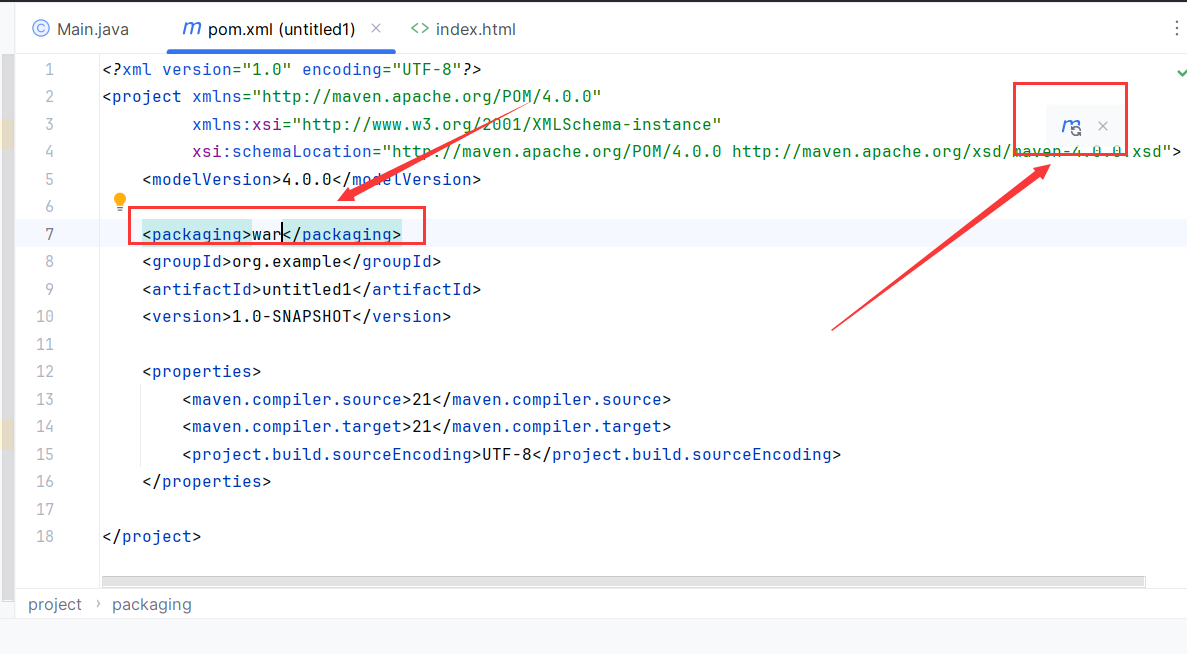
在pom.xml中添加
1 | <packaging>war</packaging> |
注意需要放在项目前面,推荐下图的位置。
注:每次操作完maven记得更新配置(即下图另一红框)
在整个idea的右边选择这个”m”,clean是清除之前生成的文件,在打包前可以清理一下。
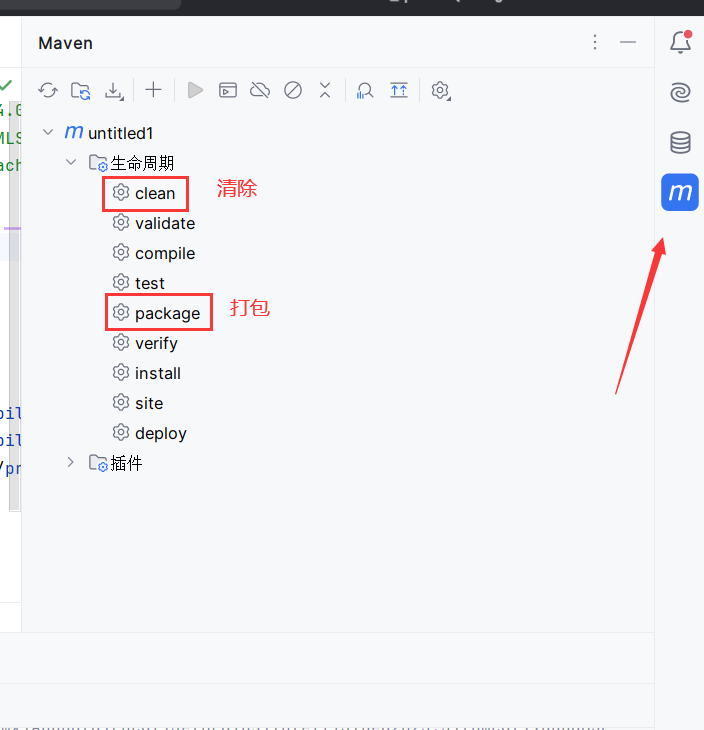
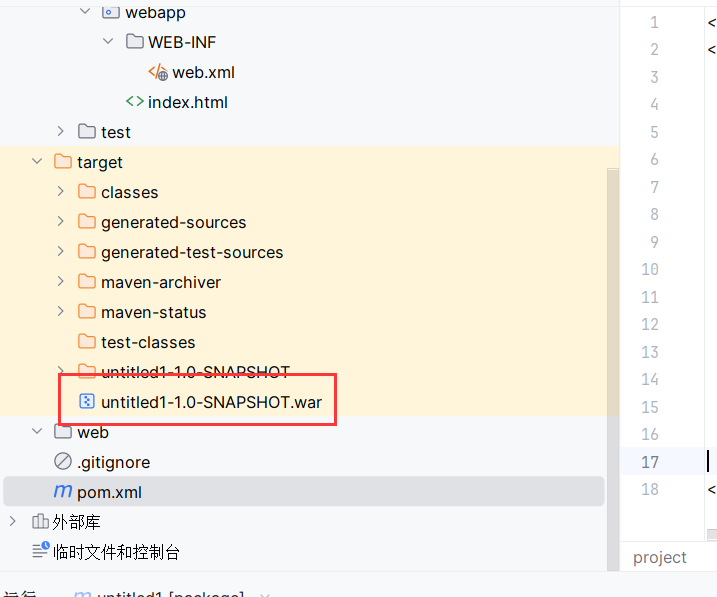
选择打包则可以生成一个target目录,内含一个本项目的war包
此处的clean和package均双击就可运行
TOMCAT下运行war
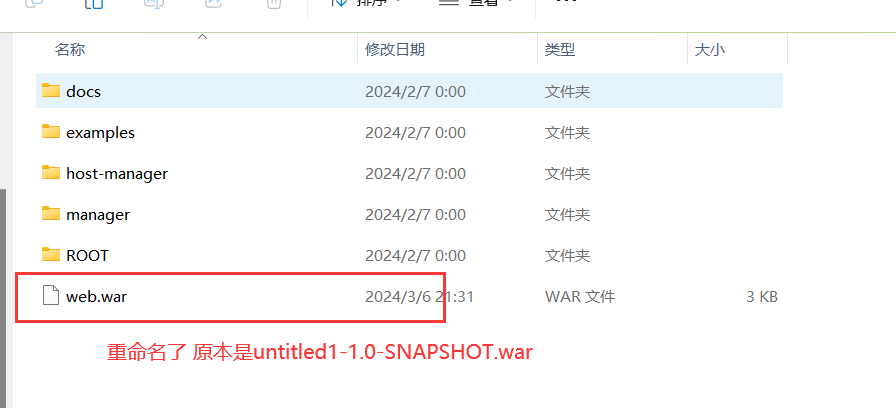
以刚刚打包的war为例,将war移动到tomcat的webapps下
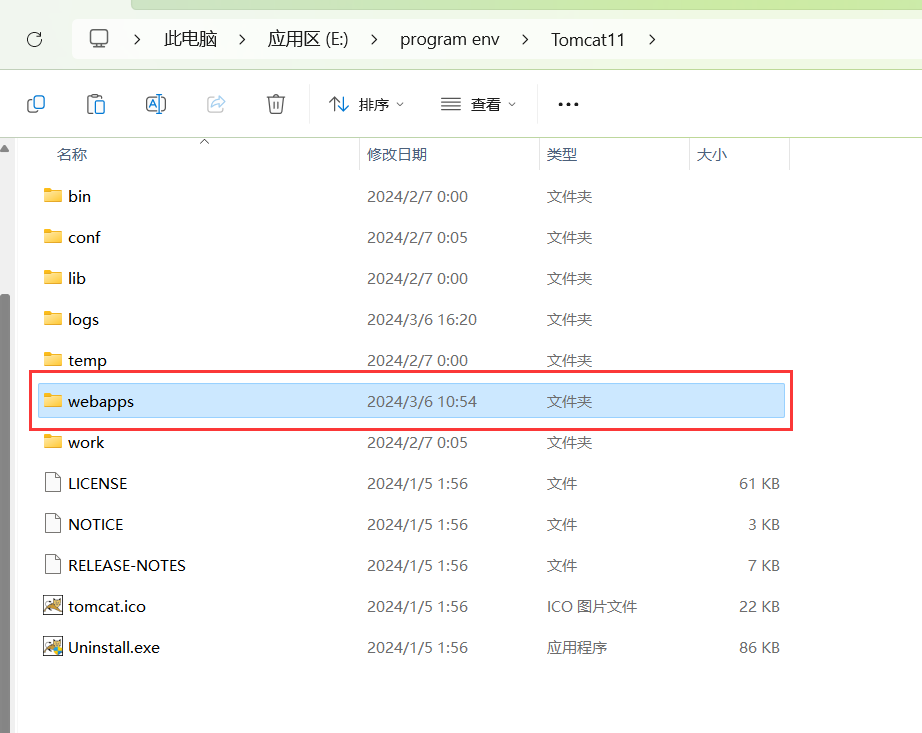
我们将war包的名称修改,方便等一下浏览。
启动tomcat
在浏览器中输入localhost:8080/项目名称(即刚刚重命名的web,注意这里的.war省略)
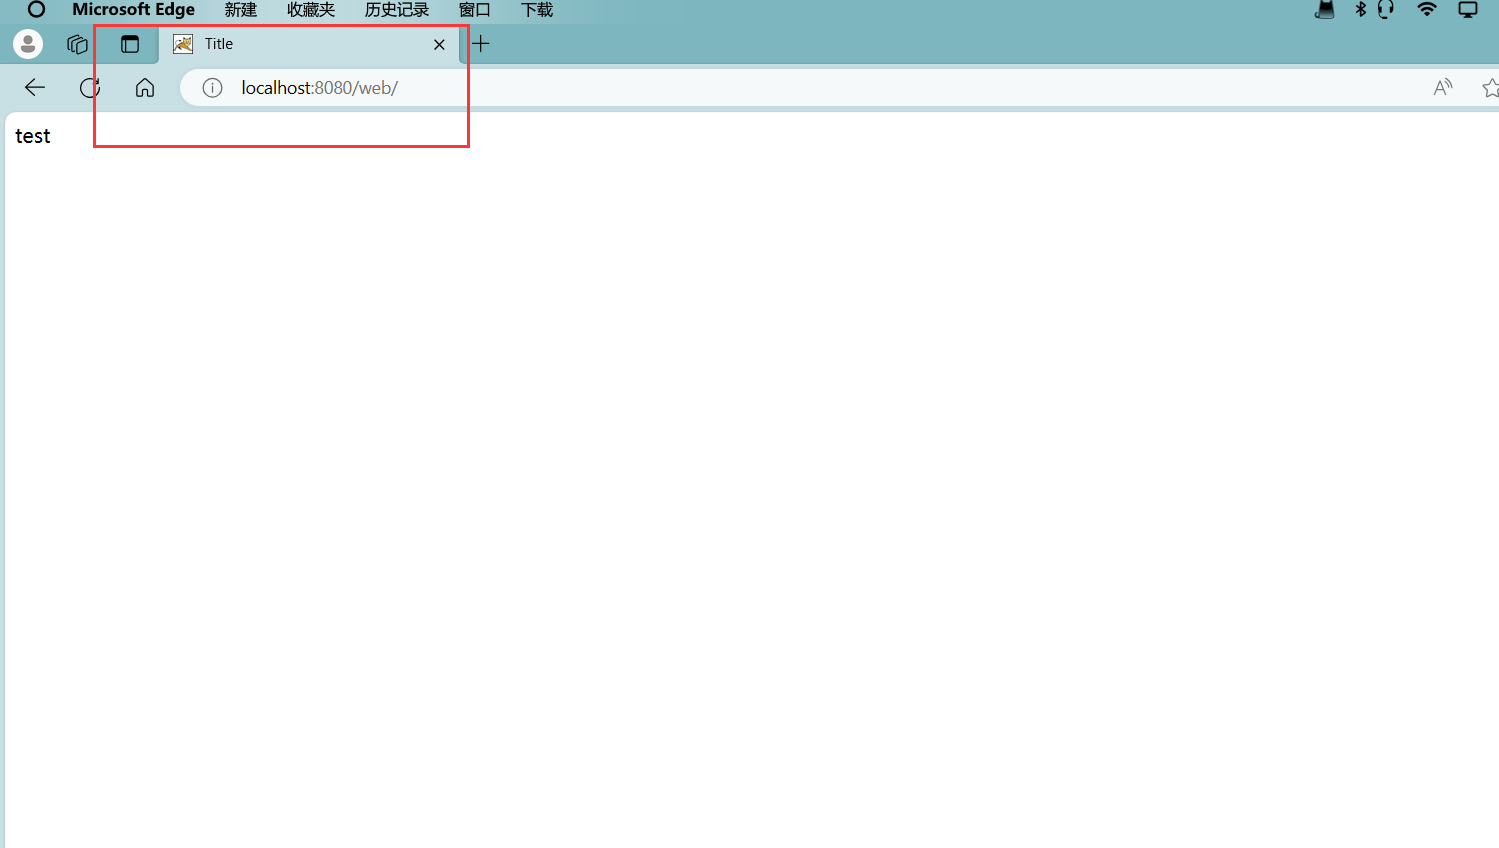
.war省略的原因为:tomcat在运行后会自动解压war包,生成一个web目录,实质上访问的是该目录。
值得注意的是:在tomcat运行的时候千万不要去删除war包,会使的解压的目录一并被清除
如果你的项目中未设定index,按照上文进行会出现404的情况,千万不要着急,在$localhost:8080/项目名称$ 后跟上$/你的文件名$即可
例:
1 | localhost:8080/web/test.html |
MAVEN项目添加依赖
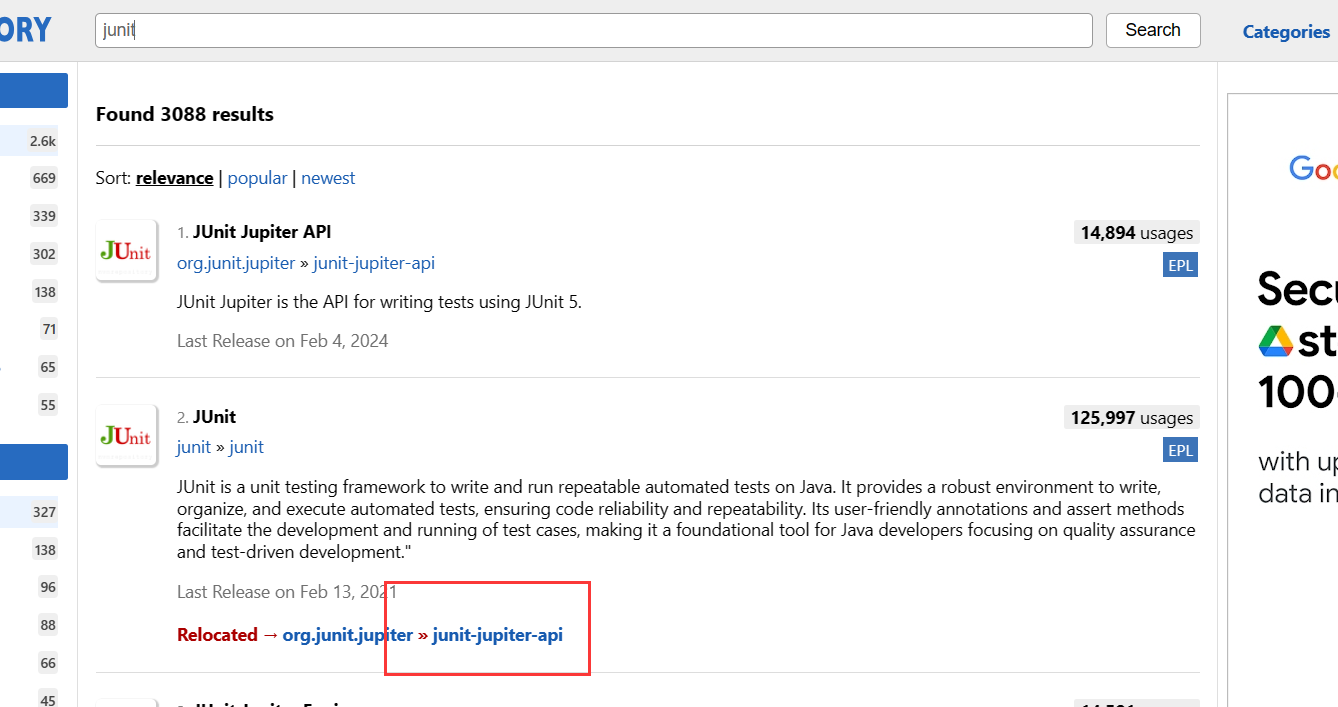
工具网站:Maven Repository: Search/Browse/Explore (mvnrepository.com)
此网站用于添加依赖,请各位添加到收藏夹中
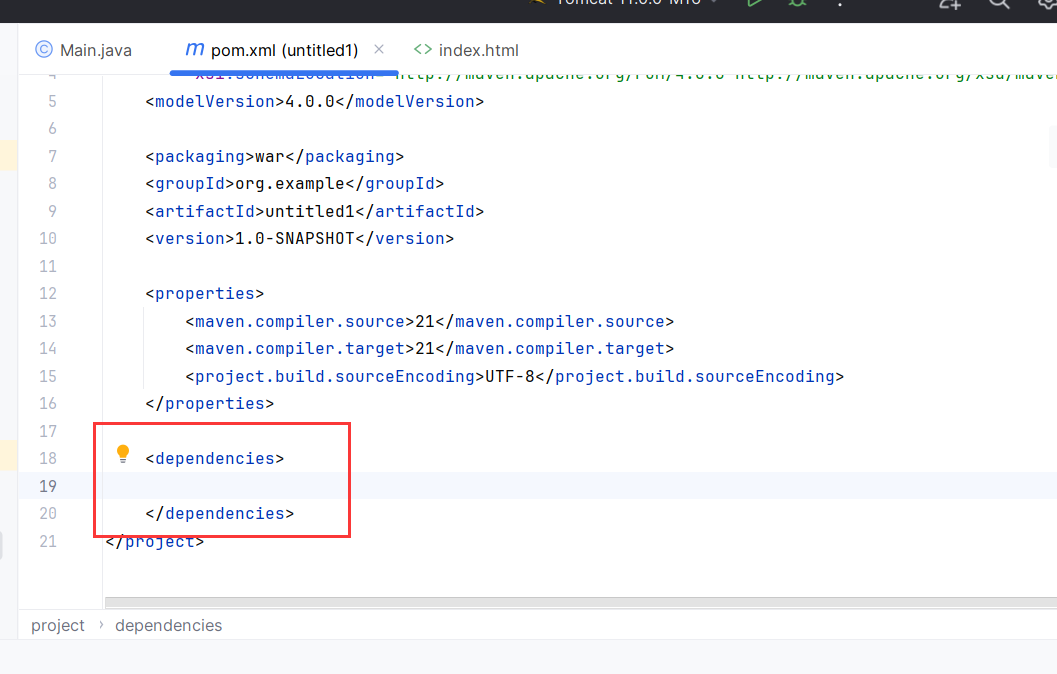
我们首先需要在pom.xml中添加条目,用于存放依赖
JUNIT
JUnit 是一个编写可重复测试的简单框架。它是单元测试框架的 xUnit 架构的一个实例。
相关的详细介绍:详解介绍JUnit单元测试框架(完整版)_junit整体框架详细介绍-CSDN博客
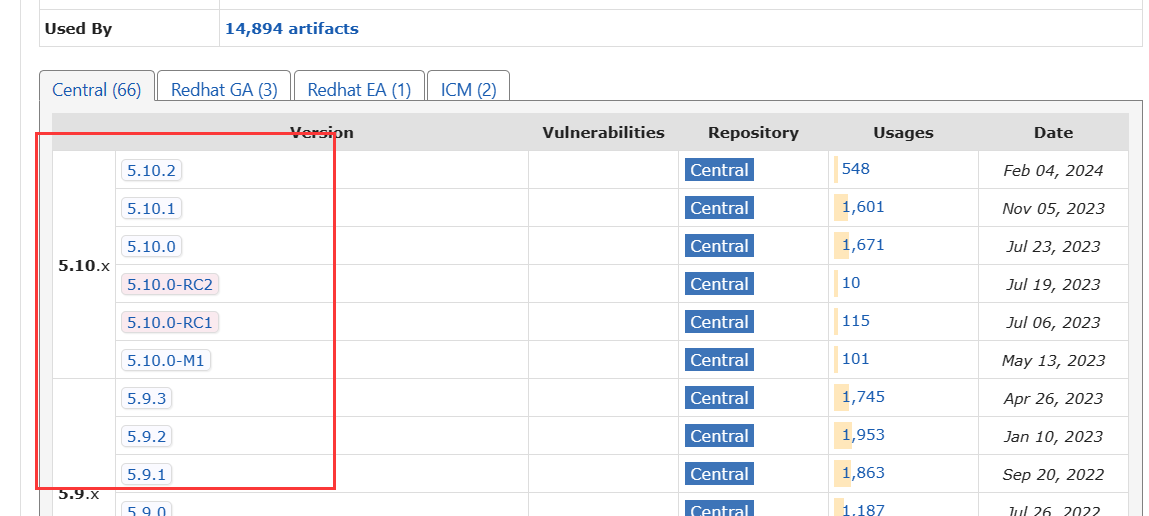
单机需要的版本
将代码复制到pom.xml中
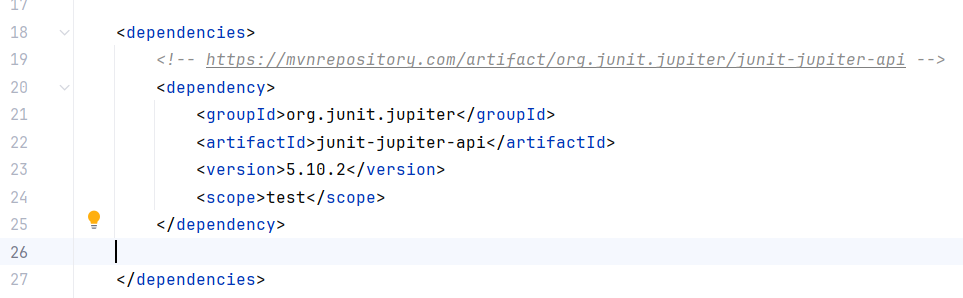
这边给出5.10.2的依赖
1 | <!-- https://mvnrepository.com/artifact/org.junit.jupiter/junit-jupiter-api --> |
SERVLET
Java Servlet 是运行在 Web 服务器或应用服务器上的程序,它是作为来自 Web 浏览器或其他 HTTP 客户端的请求和 HTTP 服务器上的数据库或应用程序之间的中间层。
相关介绍:Servlet 简介 | 菜鸟教程 (runoob.com)
servlet需要和tomcat的版本匹配,可以在tomcat的lib中的jar中看到对应的版本匹配。也可以在官方对应的表格中看到需要添加的servlet依赖。

同样在Maven Repository中搜素servlet,并将代码添加到依赖中
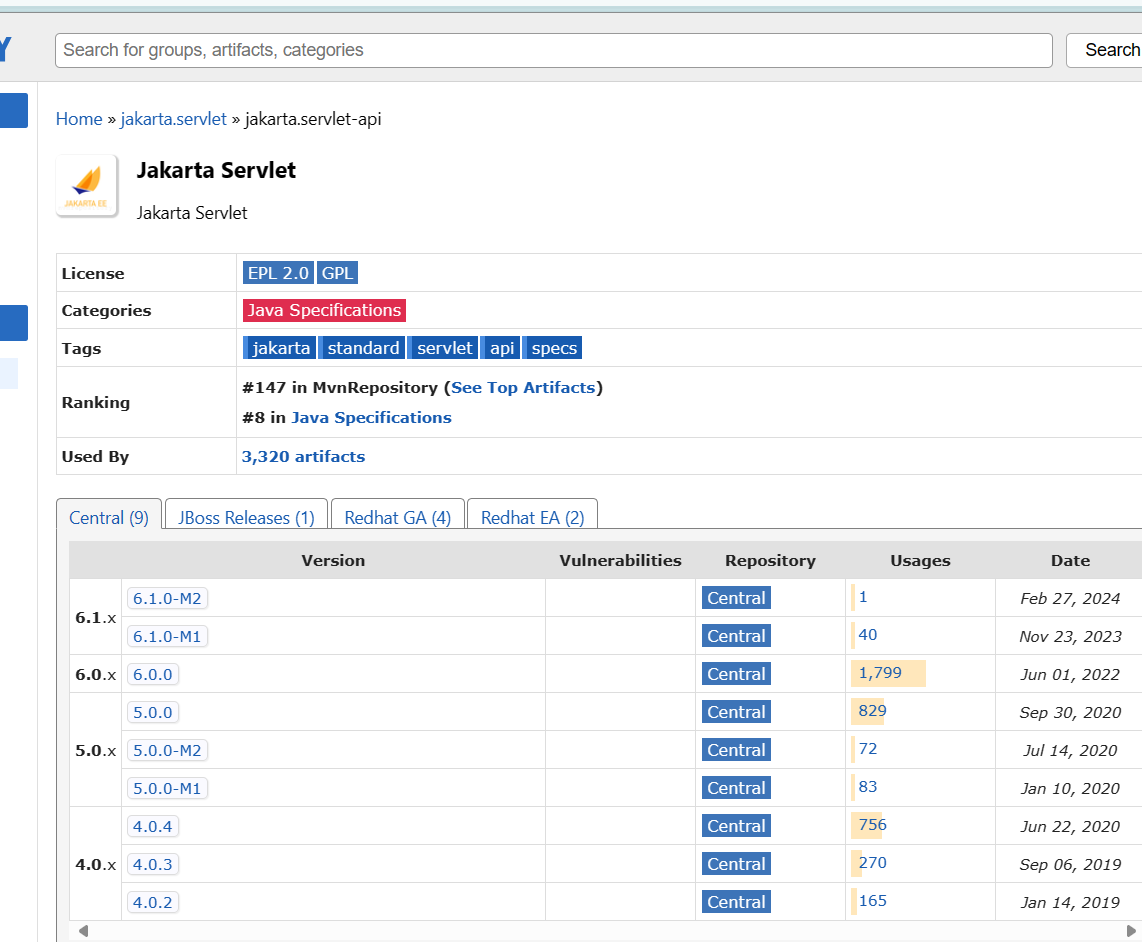
这边给出tomcat9对应的servlet的引用代码
1 | <!-- https://mvnrepository.com/artifact/javax.servlet/javax.servlet-api --> |