vue项目服务器部署
准备工作
1. Vue TypeScript 支持
安装 Vue TypeScript 支持 : (如果你采用了 TS 来编写)
1 | npm install --save-dev @vue/runtime-core |
创建声明文件: 在 src 目录下(或你的 TypeScript 文件所在位置)创建一个 shims-vue.d.ts 文件,内容如下:
1 | declare module '*.vue' { |
2. 跨域请求问题
在vue.config.js文件中配置反向代理解决跨域请求问题(如果有跨域需要)
1 | const { defineConfig } = require('@vue/cli-service') |
部署
1. vue项目打包
在vue项目根目录运行
1 | npm run build |
运行完之后会出现一个dist文件夹
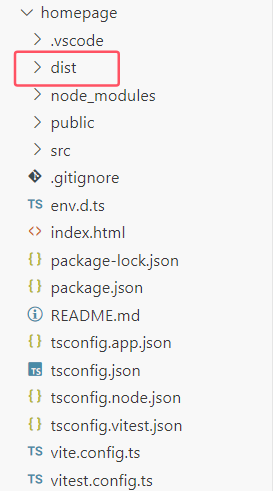
2. 创建web存放目录
链接云服务器,创建 web文件夹 用来存放dist文件夹
1 | cd /usr/local/ |
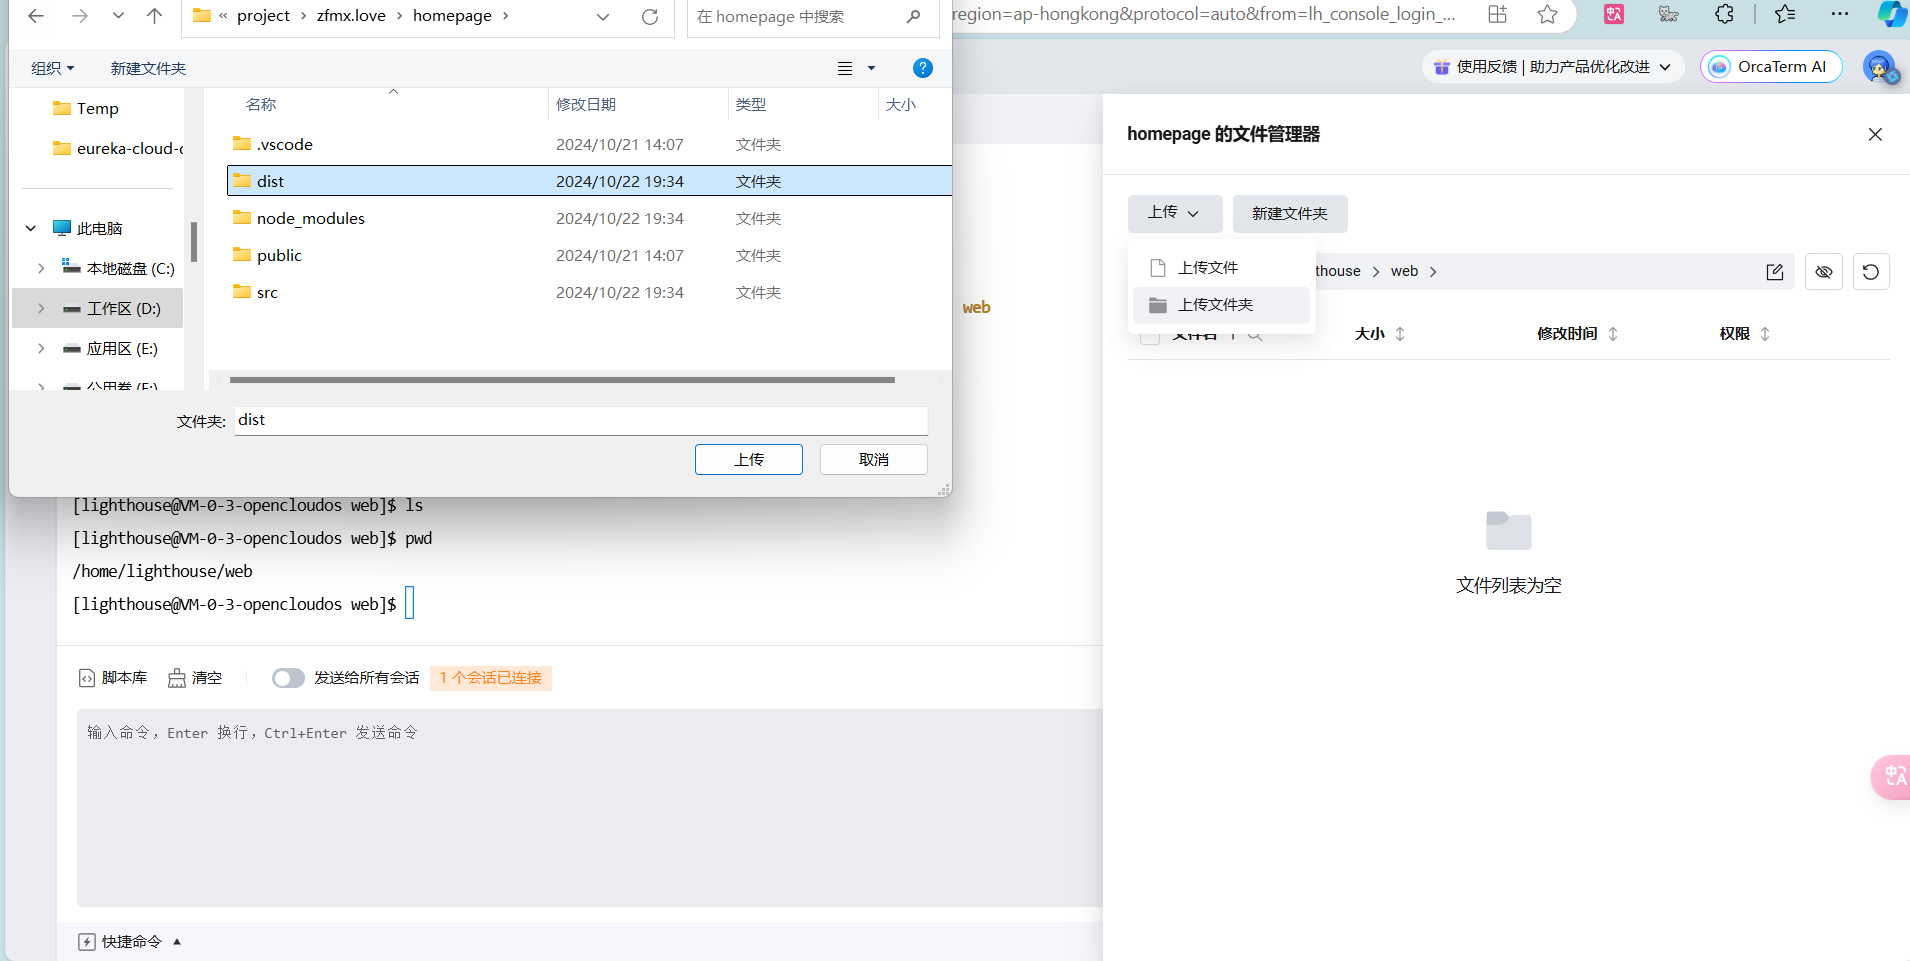
3.上传dist文件
通过工具上传文件夹 , 这里演示通过lighthouse上传
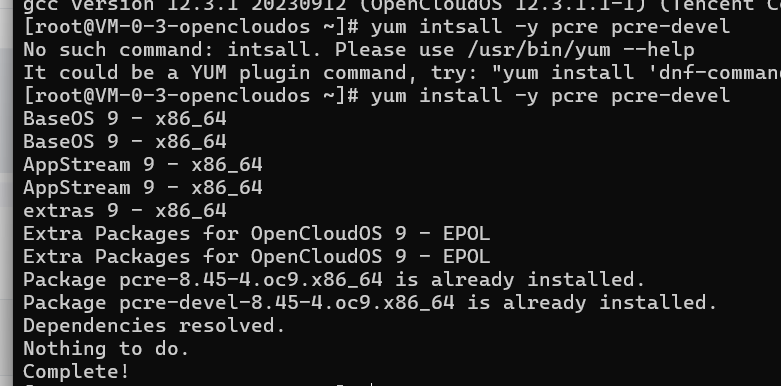
4.安装gcc、pcre、pcre-devel
1 | yum -y install gcc |
5.安装 zlib
1 | yum install -y zlib zlib-devel |
6.安装open ssl
1 | yum install -y openssl openssl-devel |
这里均正常安装即可,服务器上有了的话就不需要安装了。
7.安装nginx
在 /usr/local下新建文件夹,(这里应该根据你观看博客时的最新稳定版进行安装nginx: download)
1 | mkdir webserve |
这里下载并解压nginx,解压成功,切换到安装后的目录
1 | cd /usr/local/webserve/nginx-1.27.2/ |
依次执行
1 | ./configure |
执行完成后可以在 /usr/local/下看到nginx文件夹
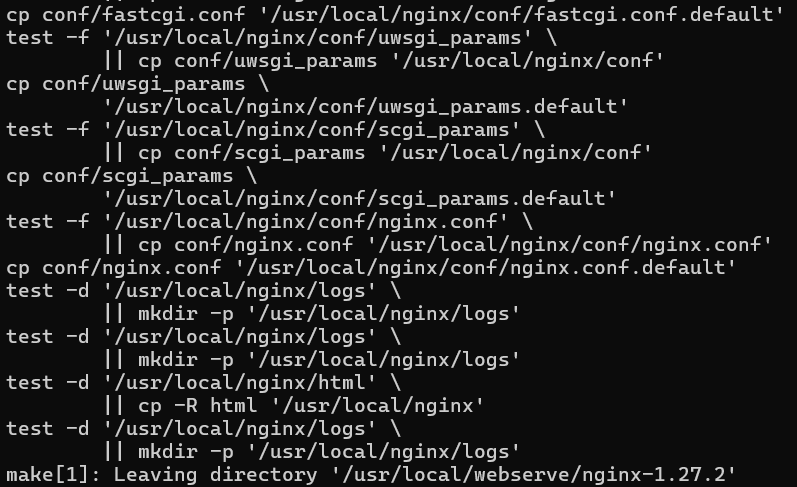
这样就是完成了。
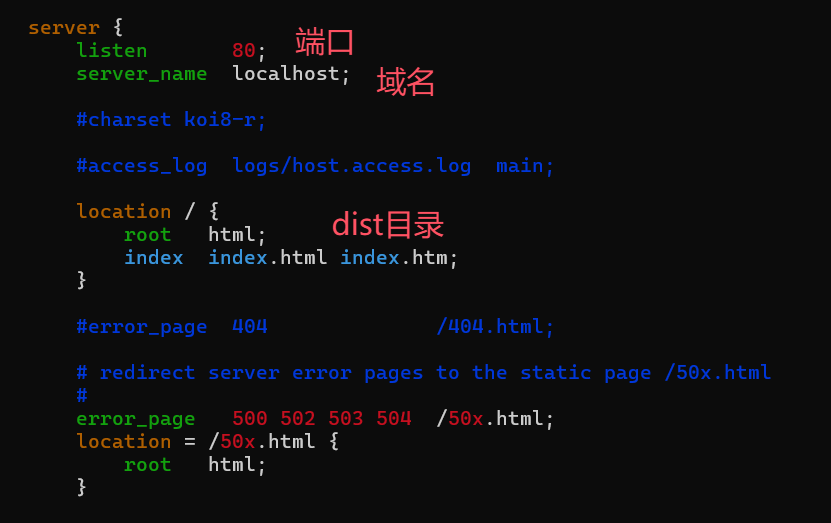
8.配置nginx
进入配置文件
1 | cd /usr/local/nginx/conf |
宝塔面板一键部署
如果你的云服务器上预先安装了宝塔面板,那么就不需要上述步骤,使用命令
1 | bt defualt |
就可以启动宝塔面板了,跟着他的新手引导即可完成配置
本博客所有文章除特别声明外,均采用 CC BY-NC-SA 4.0 许可协议。转载请注明来自 zfmx's Blog!
评论
